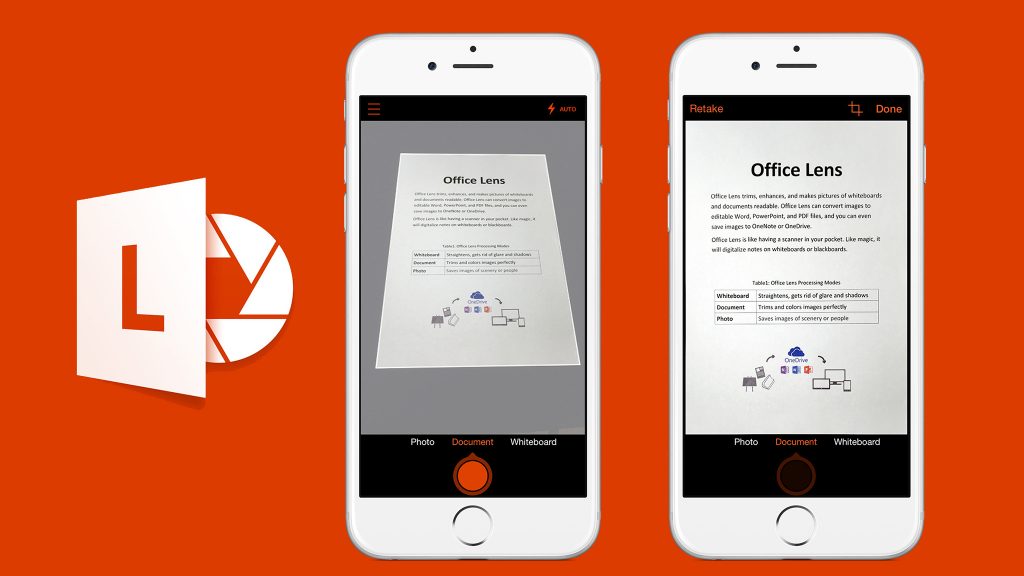
Microsoft Lens – your new way to scan
Due to the current pandemic situation scanners and printers may be inaccessible to students and staff. In the meantime, until normal service resumes, we invite you to take this opportunity to look at mobile-based alternatives to the hefty scanners you may be used to. Mobile-based scanning apps are far more convenient whilst maintaining a high-quality output, often exceeding the quality possible with traditional scanners.
There are many good scanning apps available for mobile platforms. One we currently recommend is Microsoft Lens , available from the relevant app store for your mobile device. Adobe Scan is a similar product.
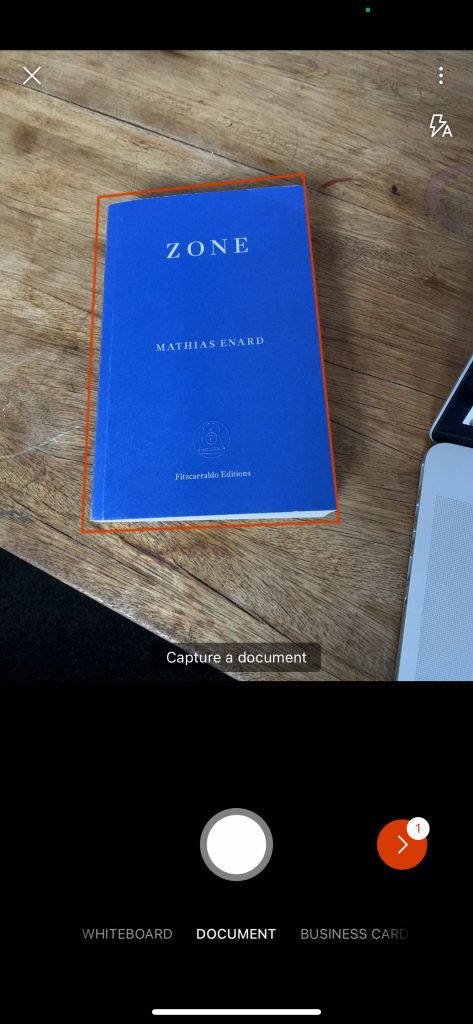
Step 1:
Open the app and point the camera at the page you wish to scan. The app will attempt to automatically guess what object you are scanning and frame it using the red rectangle.
Tap the white circular capture button.
See the number above the Red circular button for the number of pages captured within this document

Step 2:
If needed, adjust the borders of the scan, then tap Confirm.
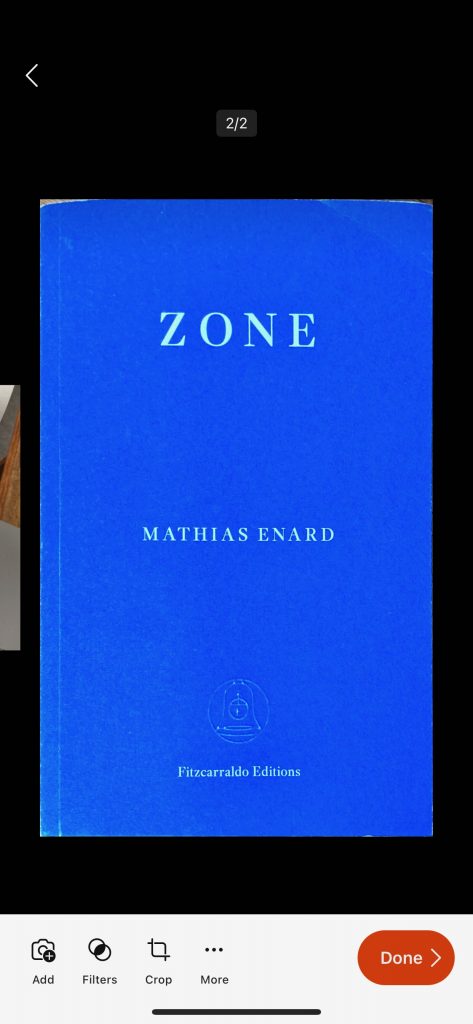
Step 3:
Here you can preview your scan.
Then, in the order the buttons appear, you can add additional pages, change the currently-active filter (e.g. whiteboard / document etc) and adjust the cropping for the selected page. Under ‘more’ you can rotate, delete, markup, and add text.
When you’re satisfied with your scans, hit ‘Done’.

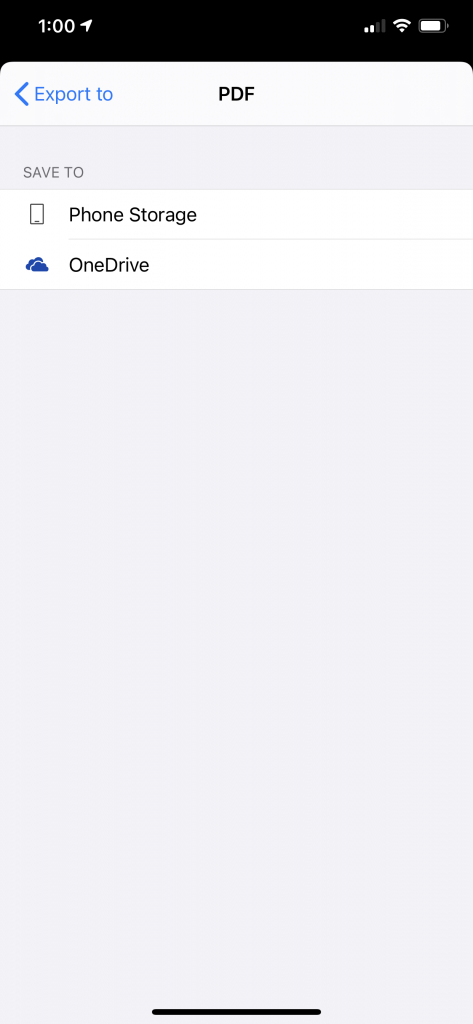
Step 4:
This page allows you to name your file and export your scans.
To export as PDF, select the ‘PDF’ option from the list, and then choose either to save to OneDrive or your phone’s storage.
If your image was captured in Whiteboard, Document, or Photo mode, you can save it to your iPhone or iPad’s Photo Library. You can also save the image as a PDF (Portable Document Format) file, or save it to Microsoft OneNote, OneDrive, Word, or PowerPoint. In addition, you can also send the image via Microsoft Outlook or the Mail app in iOS.
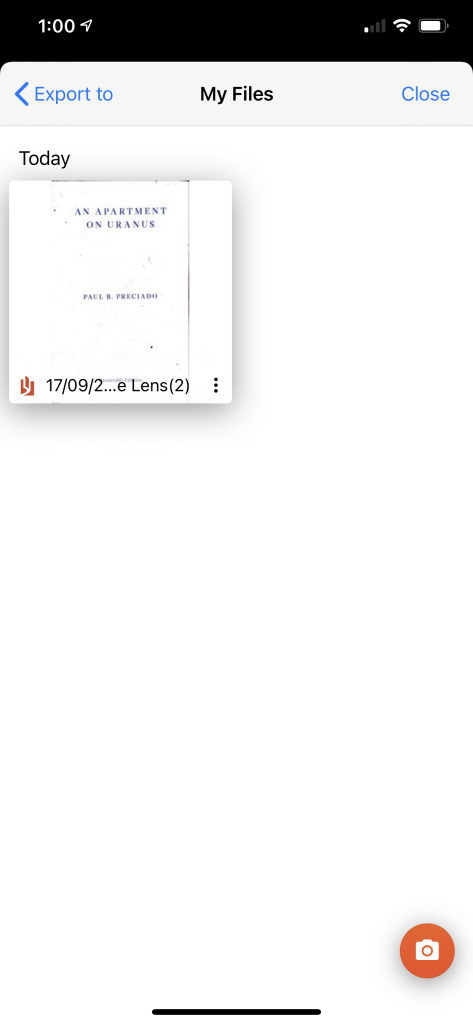
Exporting it to a PDF
Steps for exporting as PDF seen below. Tap ‘Phone Storage’, tap on the documents thumbnail on the ‘My Files’ page, then tap the ‘share’ icon top right.

Additional information
Captured images saved as Word, PowerPoint, or PDF files will be in your Documents folder on OneDrive, so you can access them from any of your devices signed in with the same OneDrive account. PDF files can also be saved locally on your mobile device, and you can edit the save location for your PDF by tapping the Save button.
Office Lens doesn’t just import an image into a Word or PowerPoint file. The final Word and PowerPoint documents are real Microsoft Office documents.
- Microsoft Word Office Lens can recognize handwritten or typed and printed text, as well as the general layout of what you capture. As a result, the text, formatting, and layout in the Word document that Office Lens creates are fully editable — just as if you authored the document yourself.
- Microsoft PowerPoint can recognize handwritten lines and strokes that are transformed into drawing objects that can be re-colored, resized, moved around, and edited. You can also remove the background of drawings, which makes it easier to reuse them in other presentations.
- PDF (Portable Document Format) files Office Lens extract the text information from a captured image. You can search the text contents of a PDF file and highlight or copy any part of the page with your PDF Reader app.
Questions to ict.desk@some.ox.ac.uk or av.desk@some.ox.ac.uk